SSH Tunnels
Usually the Internet works great and I can get to everything I need to from wherever I may be. Sometimes, however, I find myself in a network with a firewall that blocks access to something I want. At times like those I revert to using SSH tunnels. Unfortunately (depending on how you look at it) I don’t find myself in those situations often enough to memorize the proper command syntax. Hopefully this blog entry will save me the hassle of sifting through Google results for the solution.
If you’re following along at home, you’re going to need a few things to make this work. First you’re going to need an account on a machine that you can SSH into. That machine will also need access to the service that is currently blocked by a firewall. Next you’ll need an SSH client. If you’re on MacOS X you can probably access SSH from the terminal window. If you’re on a Windows machine, you’ll needPuTTY,Cygwinor some other capable client. If I’m on my own laptop, I usually just use my Cygwin installation. If I’m on a foreign machine I tend to use theportaPuTTYapplication on my USB key chain.
For example purposes, let’s say we need to access a website that is running on a non-standard port (e.g. http://www.example.com:8080). Our top notch IT staff has blocked port 8080 in order to protect the network so we need to create a tunnel. We just so happen to have an account on the server www.mikedalrymple.com, we can SSH to it, and that server can access www.example.com on port 8080. Now we just need to tunnel our requests for www.example.com:8080 through www.mikedalrymple.com. Using a command line SSH utility we can build the tunnel with the following command. ssh -L 9090:www.example.com:8080 mike@www.mikedalrymple.com
Once I execute that command, I’ll need to supply the password for the user mike on the server www.mikedalrymple.com. After I successfully sign in I should be able to put the URL http://localhost:9090 in my browser and see the contents of http://www.example.com:8080.
Here’s what each element of the command means:
- ssh- Use the SSH program.
- -L - This indicates we’re going to set up a tunnel on a local port to a remote destination.
- 9090:www.example.com:8080- 9090 is the local port number I want to use to access the service, www.example.com is the remote host I’m trying to tunnel to and 8080 is the port on the remote host I’m trying to access.
- mike@www.mikedalrymple.com- mike is the user name for my account on www.mikedalrymple.com which I can ssh to in order to create the tunnel.
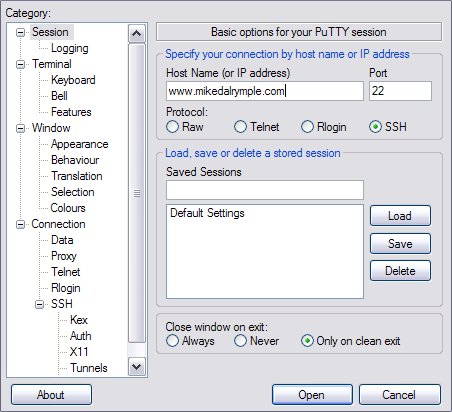
If you’re using PuTTY (porta or otherwise), you need to setup your tunnel in the UI. Following the same example, the first step is to create a session for www.mikedalrymple.com, as shown in the following screen grab.
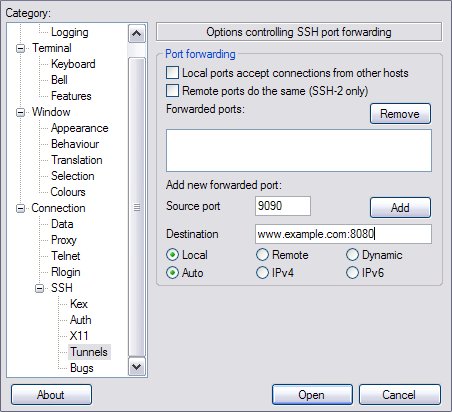
Next you’ll need to enter the tunnel information in the Tunnels screen entering your local port number in the “Source port” field and the destination host and port in the “Destination” field as shown below.
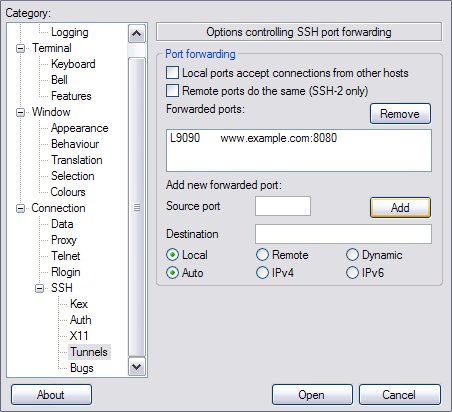
Once you click the “Add” button, your entry should show up in the list of “Forwarded ports” as the next image shows.
You’ll likely want to save the session if you plan to use it again but all you really need to do is click the “Open” button and then you’re caught up to where we were after we executed the command line version.
I used 9090 as my local port number in this example to make this example clearer, I would usually just use 8080 (or whichever port I’m trying to access on the destination server) to keep things clearer in my head.
Usually when I’m doing this I’m having to access something that is on a non-standard port, the only somewhat standard port I regularly use this with is Microsoft’s Remote Desktop Connection software which uses port 3389.
I hope this helps, let me know if I missed anything.