
API Gateway Fundamentals with Terraform
This post introduces the basic elements of the AWS API Gateway and demonstrates how to deploy a useful API Gateway microservice using Terraform. This service will answer the common “What is my IP?” question by providing the client’s IP address, User-Agent, and the time the request was received. All of this is achieved with just an AWS API Gateway service configured with Terraform, no Lambda functions required.
Preconditions
This post assumes you have an AWS account, local credentials, and the necessary IAM permissions to create, update, and destroy AWS API Gateway resources.
You should also have a recent version of Terraform installed. The code in this post uses Terraform 0.12 and some features that are not compatible with earlier versions.
Lastly, you should clone the latest version of the GitHub repository that goes along with this post. You’ll find the complete source code in that repository.
Goal
The goal of this demonstration is to have an AWS API Gateway Resource deployed and responding with content similar to the following:
Loading...That’s a live example from a service I have deployed so the information should match your current browser context.
API Gateway
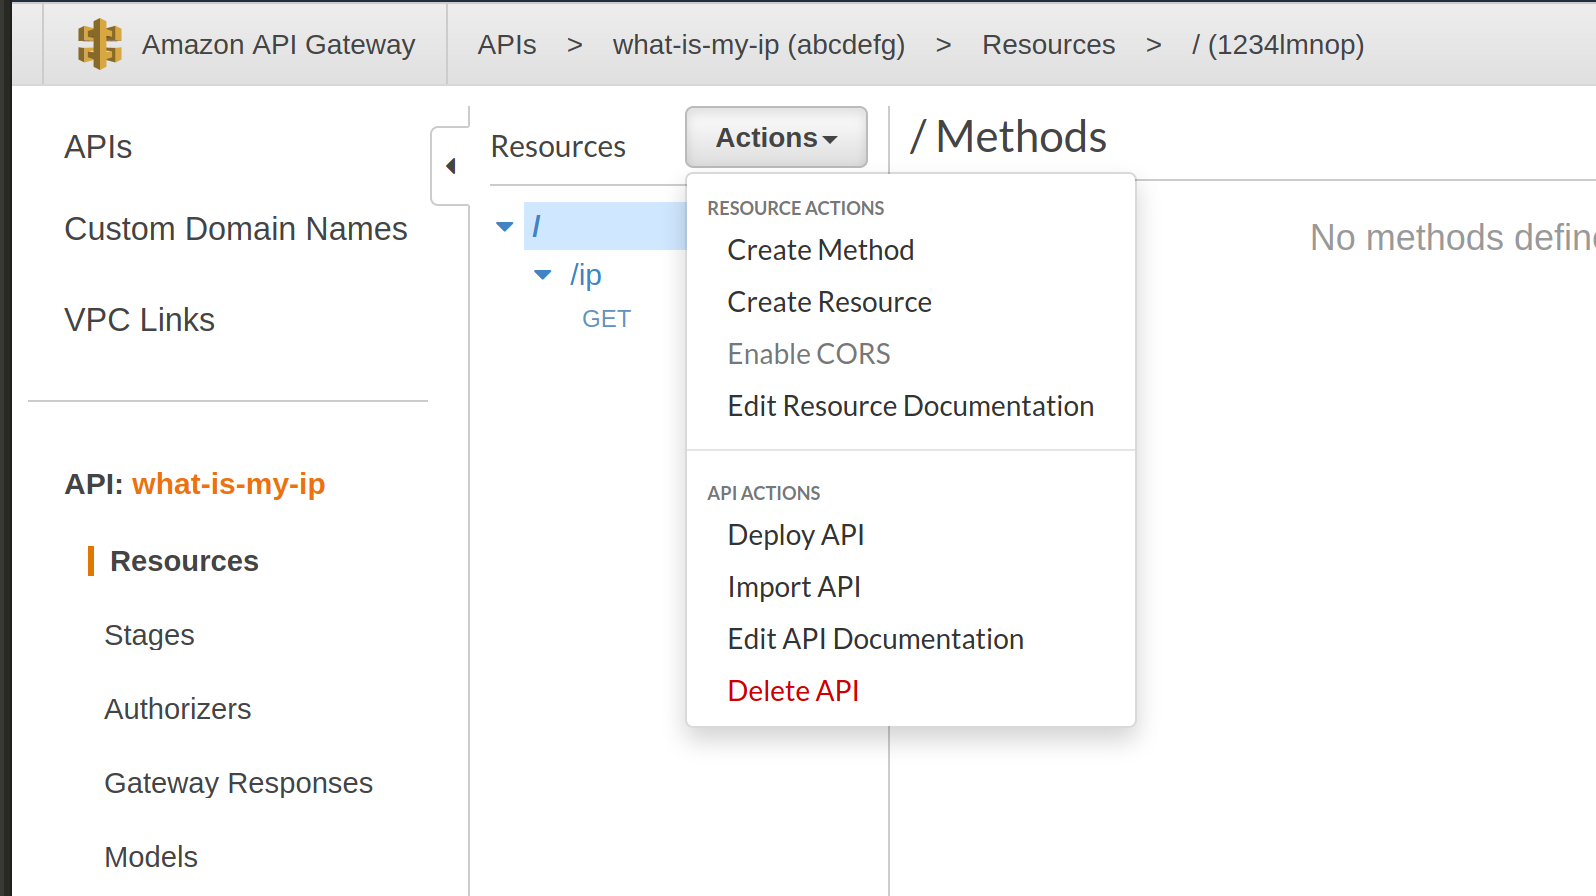
Deploying a functional AWS API Gateway service requires a surprising number of Terraform resources. To keep things as simple as possible we’re just deploying a single resource /ip, that only accepts GET requests.
REST API
The aws_api_gateway_rest_api resource is the root of our service. We’re giving our REST API Terraform resource the local name my_ip. The deployed API will be named what-is-my-ip so that’s what you can expect to see in the AWS Console. For this demonstration, a REGIONAL endpoint is adequate.
resource aws_api_gateway_rest_api my_ip {
  name = "what-is-my-ip"
  endpoint_configuration {
    types = ["REGIONAL"]
  }
}
Resource
The aws_api_gateway_resource represents the URL path that will be used to call our service (/ip for this example). Our resource uses the root_resource_id of our REST API as the parent_id. If we were to have a deeper path like /client/util/ip, we would need additional resources for client and util. Each of those resources would reference each other through the parent_id property. It’s not possible to define a path_part with slashes /.
resource aws_api_gateway_resource my_ip {
  rest_api_id = aws_api_gateway_rest_api.my_ip.id
  parent_id = aws_api_gateway_rest_api.my_ip.root_resource_id
  path_part = "ip"
}
Method Execution
Method Execution defines the steps that occur each time our REST API Method is called. In the AWS Console, the Method Execution is diagramed as a clockwise flow that starts and ends with the Client.

For our service, we will create Terraform resources for the Method Request, Integration Request, Integration Response, and Method Response. Our service is pretty simple so we’ll only be scratching the surface with each of these resources.
Method Request
The aws_api_gateway_method defines the Method Request for our /ip resource. The Method Request supports a number of options to control access to the API and to transform the request. Our example specifies support for GET requests with no authorization.
resource aws_api_gateway_method my_ip {
  rest_api_id = aws_api_gateway_resource.my_ip.rest_api_id
  resource_id = aws_api_gateway_resource.my_ip.id
  authorization = "NONE"
  http_method = "GET"
}
Integration Request
The Integration Request is typically where you configure the integration with a service outside of the API Gateway. This could be a Lambda function, another AWS Service or a custom HTTP service. We’re staying inside the API Gateway service and defining our aws_api_gateway_integration to be a MOCK.
A mock integration allows you to simulate (or “mock”) the type of response an integrated service might return. In a typical Integration Request, you would configure your request_templates to be in the request format that your integrated service expects. With a mock integration, the request_templates value is overloaded to be the mock response. I found this to be pretty confusing when I first started working with MOCK responses.
The API Gateway expects integrations to respond with a specific format. For our mock integration we’re simply returning the statusCode of 200 to mock a successful request.
resource aws_api_gateway_integration my_ip {
  rest_api_id = aws_api_gateway_method.my_ip.rest_api_id
  resource_id = aws_api_gateway_method.my_ip.resource_id
  http_method = aws_api_gateway_method.my_ip.http_method
  type = "MOCK"
  request_templates = {
    "application/json" = <<TEMPLATE
{
  "statusCode": 200
}
TEMPLATE
  }
}
Method Response
Following the Method Execution diagram, the next logical step would be the Integration Response. However, we have to skip ahead in the flow to the Method Response because the Integration Response is dependent on the Status Codes specified in the Method Response.
The Method Response is where you define the possible HTTP responses your API may return to the client and potentially transform those responses as necessary. For this demonstration, we’re just configuring the 200 status_code response. With this configuration, we’re telling the API Gateway to pass any response with an HTTP Status Code of 200 on to the client. If anything other than a 200 response is received from the integration, the API Gateway will return a 500 response.
resource aws_api_gateway_method_response my_ip {
  rest_api_id = aws_api_gateway_method.my_ip.rest_api_id
  resource_id = aws_api_gateway_method.my_ip.resource_id
  http_method = aws_api_gateway_method.my_ip.http_method
  status_code = 200
}
Integration Response
The Integration Response is where you might transform data returned by your integrated service. We don’t have any data from our integrated service because our integration is a MOCK and we didn’t define any headers or a body in our mock response (the request_templates in our Integration Request).
To satisfy the requirements of our “What is my IP?” service, we’ll be using the $context properties that are provided by the API Gateway. Using these properties we’re able to insert the values we want in our response_templates.
resource aws_api_gateway_integration_response my_ip {
  rest_api_id = aws_api_gateway_integration.my_ip.rest_api_id
  resource_id = aws_api_gateway_integration.my_ip.resource_id
  http_method = aws_api_gateway_integration.my_ip.http_method
  status_code = 200
  response_templates = {
    "application/json" = <<TEMPLATE
{
    "ip" : "$context.identity.sourceIp",
    "userAgent" : "$context.identity.userAgent",
    "time" : "$context.requestTime",
    "epochTime" : "$context.requestTimeEpoch"
}
TEMPLATE
  }
}
Deployment
To make your REST API available through the API Gateway you need to create an aws_api_gateway_deployment. A deployed API may have one or more Stages. Our example doesn’t use any configurable Stage features so we just provide our stage_name in our Deployment resource. The name of your Stage will become a part of your service path. In our example, the demo Stage and the ip Resource combine to create /demo/ip.
We set a dependency on our Integration Request using the depends_on property. This will ensure that the API is configured before the deployment begins. If you omit this property, you may have to run a terraform apply a second time.
resource aws_api_gateway_deployment my_ip {
  depends_on = [aws_api_gateway_integration.my_ip]
  rest_api_id = aws_api_gateway_rest_api.my_ip.id
  description = "Deployed ${timestamp()}"

  stage_name = "demo"
}
Terraform will not automatically deploy your REST API when you make changes to any of the REST API’s resources. To force a new deployment with every terraform apply, we insert a timestamp() value into the Deployment description. This will “taint” the resource and force a deployment.
Tainting the resources doesn’t always seem to work. If things don’t seem to be working as I expect them to, I’ll manually deploy the API and wait a few minutes for the changes to show up.
HashiCorp’s API Gateway Guide mentions: “Better support for this workflow will be added to Terraform’s AWS provider in a future release.” So, stay tuned!
Apply
If you haven’t already done so, now would be a good time to initialize, plan, and apply the terraform configuration from the GitHub repository.
terraform init
terraform plan
terraform apply
The output in main.tf will produce the appropriate AWS API Gateway URL for your /ip resource.
output my_ip_url {
  value = "${aws_api_gateway_deployment.my_ip.invoke_url}/${aws_api_gateway_resource.my_ip.path_part}"
}
Load that URL in your browser and you should see output similar to what you see at the beginning of this post. Depending on your connection, you should see response times around 100 milliseconds or less.
CORS
To keep things as simple as possible, I did not add Cross Origin Resource Sharing (CORS) support. There are a few gotchas that merit explanation so I will save the CORS configuration for another post.
Final Thoughts
Hopefully, you now have an understanding of the basic elements of an AWS API Gateway REST API. When I first started implementing API Gateway services I was overwhelmed by the number of elements involved and the number of steps required to set up a basic service.
As I’ve deployed more API Gateway services, I’ve learned to focus on the elements I describe in this post and incrementally add capabilities from there. It’s important to note that each element can be extensively customized and those customizations will impact other elements in ways you may not expect. Version control is your friend, be sure to test after each change and don’t be afraid to run terraform destroy and start over again.
The AWS documentation is adequate but the step by step descriptions of configuring a service in the console make you lose sight of what you’re building and how they relate to one another. I’ve found that by configuring my APIs in Terraform, I have a much better understanding of how elements depend on one another.
I hope this has been helpful, if you have questions, please feel free to contact me.