ODROID H3
I recently bought and assembled an ODROID H3 computer from HardKernel in South Korea. The parts were easy to buy, arrived quickly, and were fun to put together. This post details what I bought, along with a few tips if you decide to build one for yourself.
Requirements
Most of my workloads run in the cloud, but I’ve been on the hunt for a home server I could use to play with Home Assistant. I wanted something small, quiet, yet powerful enough to last 4 to 5 years. A Raspberry Pi seemed like a good choice, but I couldn’t find any that were reasonably priced.
I first heard about the ODROID when Chris Fisher mentioned it on Linux Unplugged. He went with the ODROID H3+, but the H3 seemed more than adequate for my needs (I’m not doing any video transcoding). It was small, quiet, relatively inexpensive, and best of all it was available. Going with an x86 based system also eliminates the hassle of finding the right ARM builds for the software I want to run.
Bill of Materials
The following is the list of components I purchased from the HardKernel store:
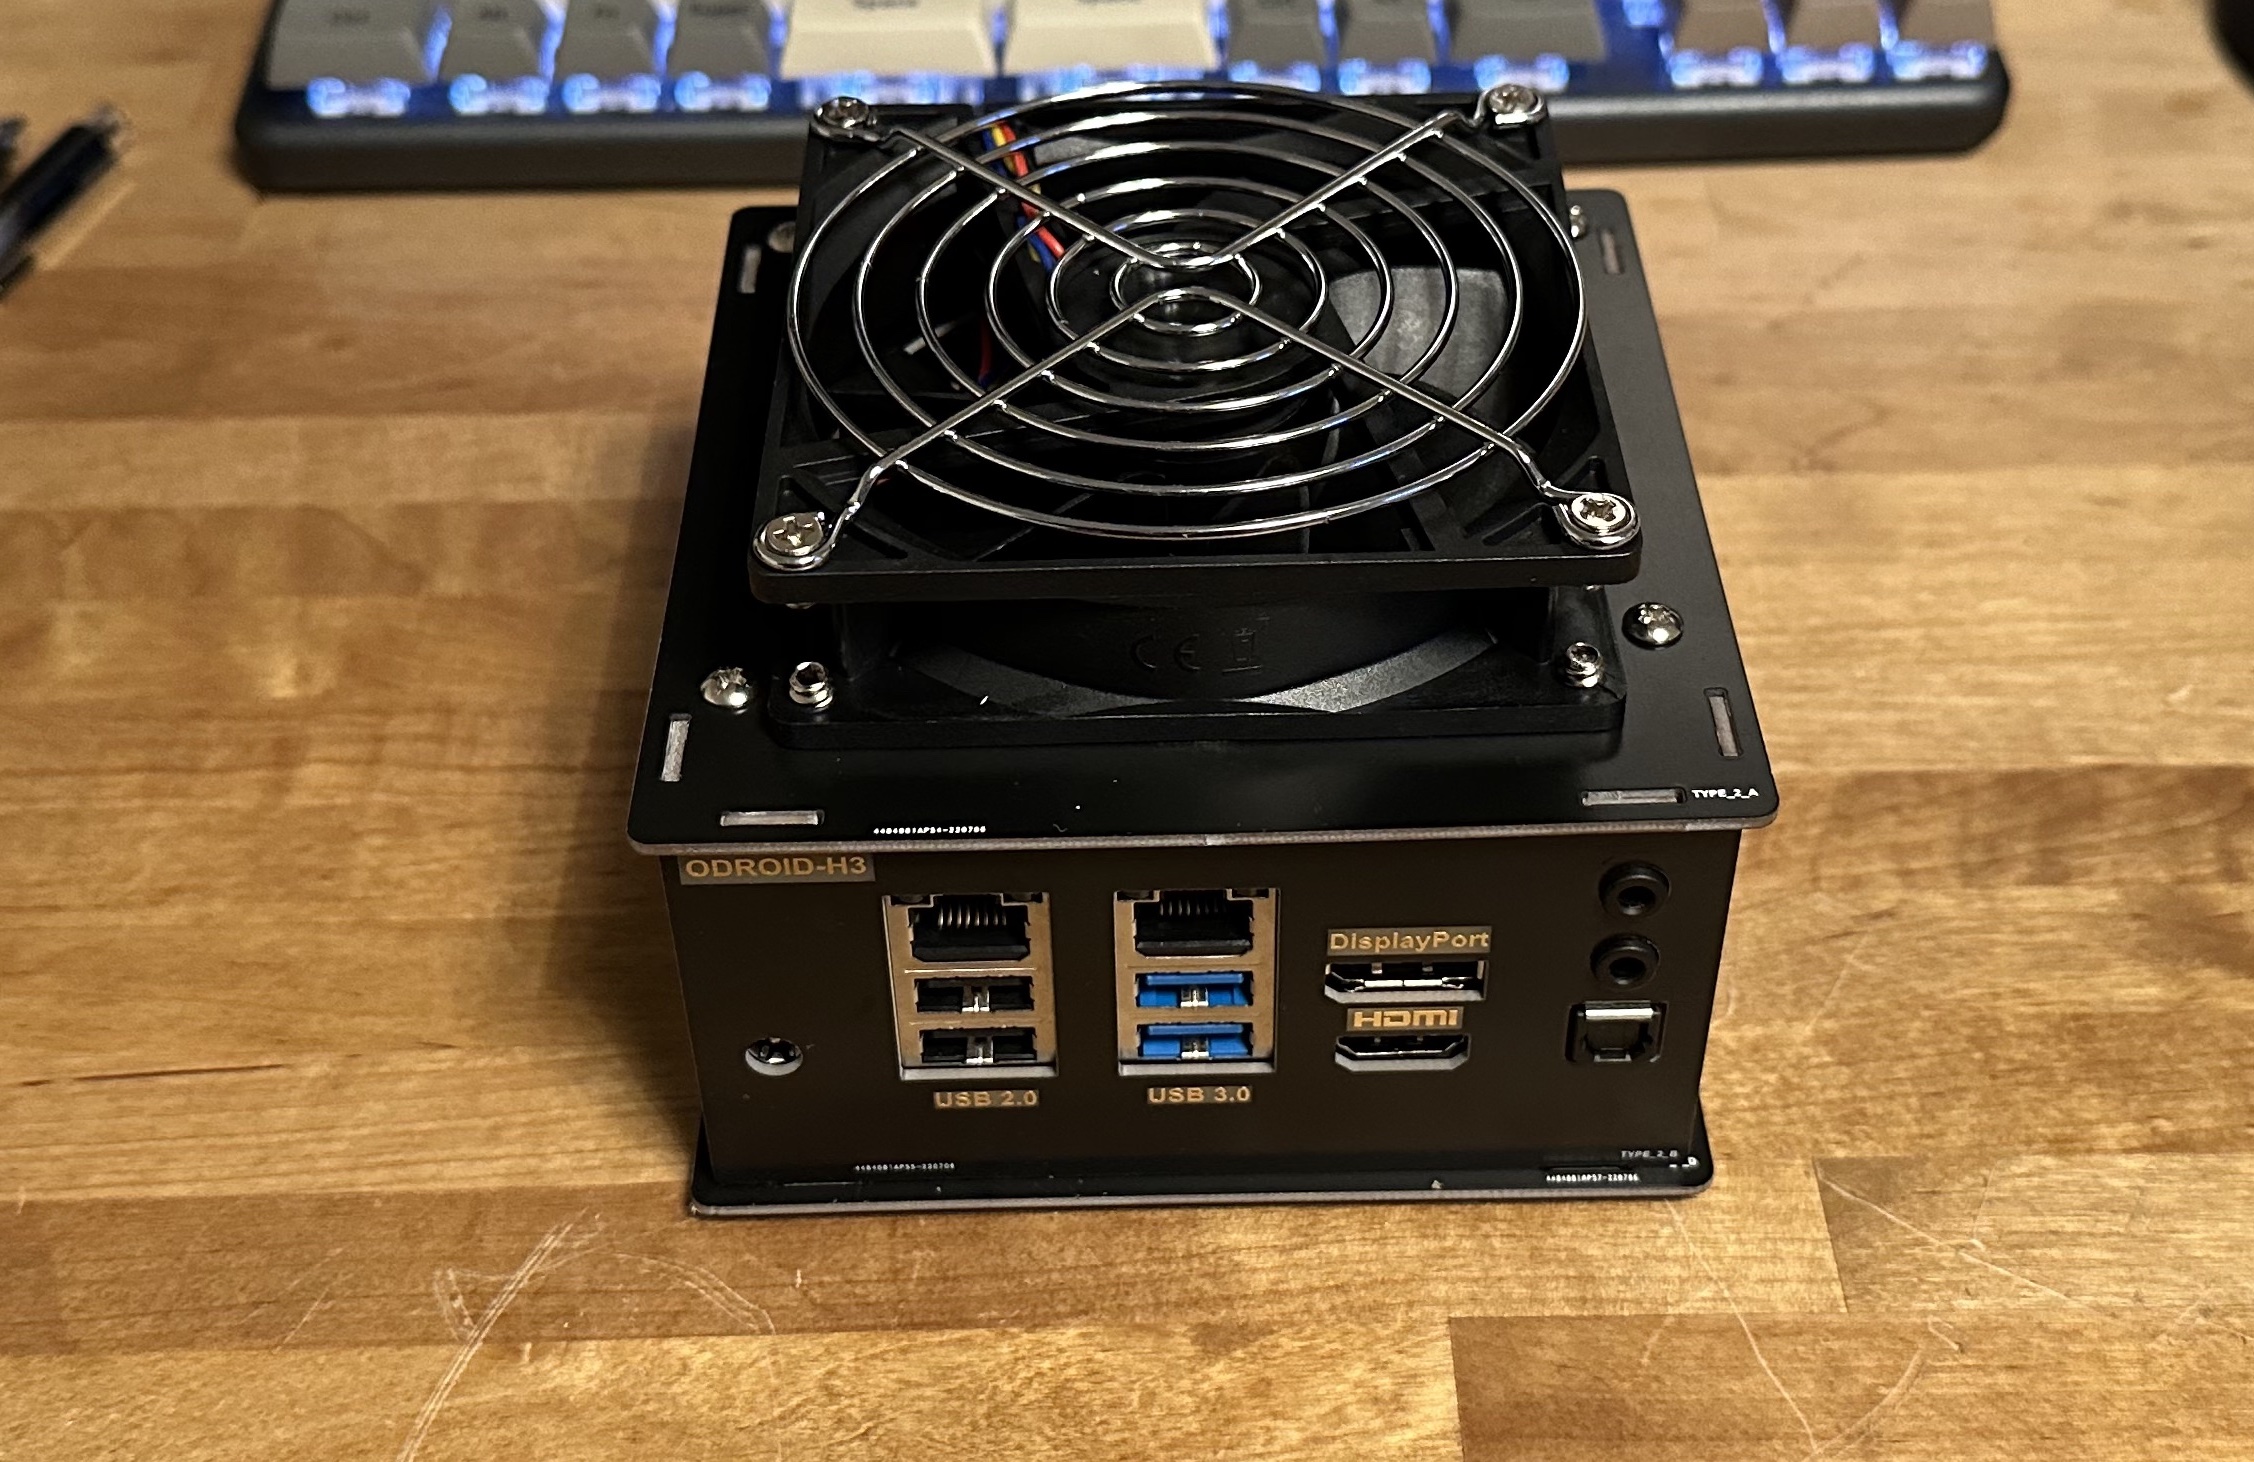
- ODROID-H3
- 2 x Samsung 4GB DDR4
- ODROID-H3 Case Type 2
- LED Power Button
- Cooling Fan
- 19V/7A Power Supply
I bought the SSD from Amazon and re-purposed a USB Wi-Fi dongle that has worked very well with various Linux boxes.
Ordering and Shipping
I almost never buy things internationally and was a little concerned with the notes that said “with bank transfer”. It turns out that just meant PayPal and I was fine with that.
Once I knew what I wanted, placing my order securely online was trivial. I was blown away when DHL delivered my parts just a few days after I placed my order. I never received a shipping notification or tracking number from HardKernel, but my order arrived so quickly, I didn’t care.
Assembly
Assembling the H3 board consisted of installing the memory, the SSD, and plugging in the BIOS battery. There’s a helpful note at the end of the ODROID H3 wiki with an image showing how to attach the BIOS battery to the audio port post using some double-sided tape. Attaching the LED Power Button was straight forward once I found the wiring instructions on the ODROID wiki.
The Type 2 case came flat packed like something from IKEA. I hesitated buying the case because the online pictures made me think the edges would be sharp, but they weren’t. The case added very little to the overall system size while giving it a nice protective shell. It’s certainly not the most beautiful thing in the world, but it fits the H3 (almost) perfectly.
The assembly video is pretty helpful, but it doesn’t cover adding the power button or fan. The power button rubs up against the heat sink and doesn’t feel like it will fit, but with a little patience, it does.
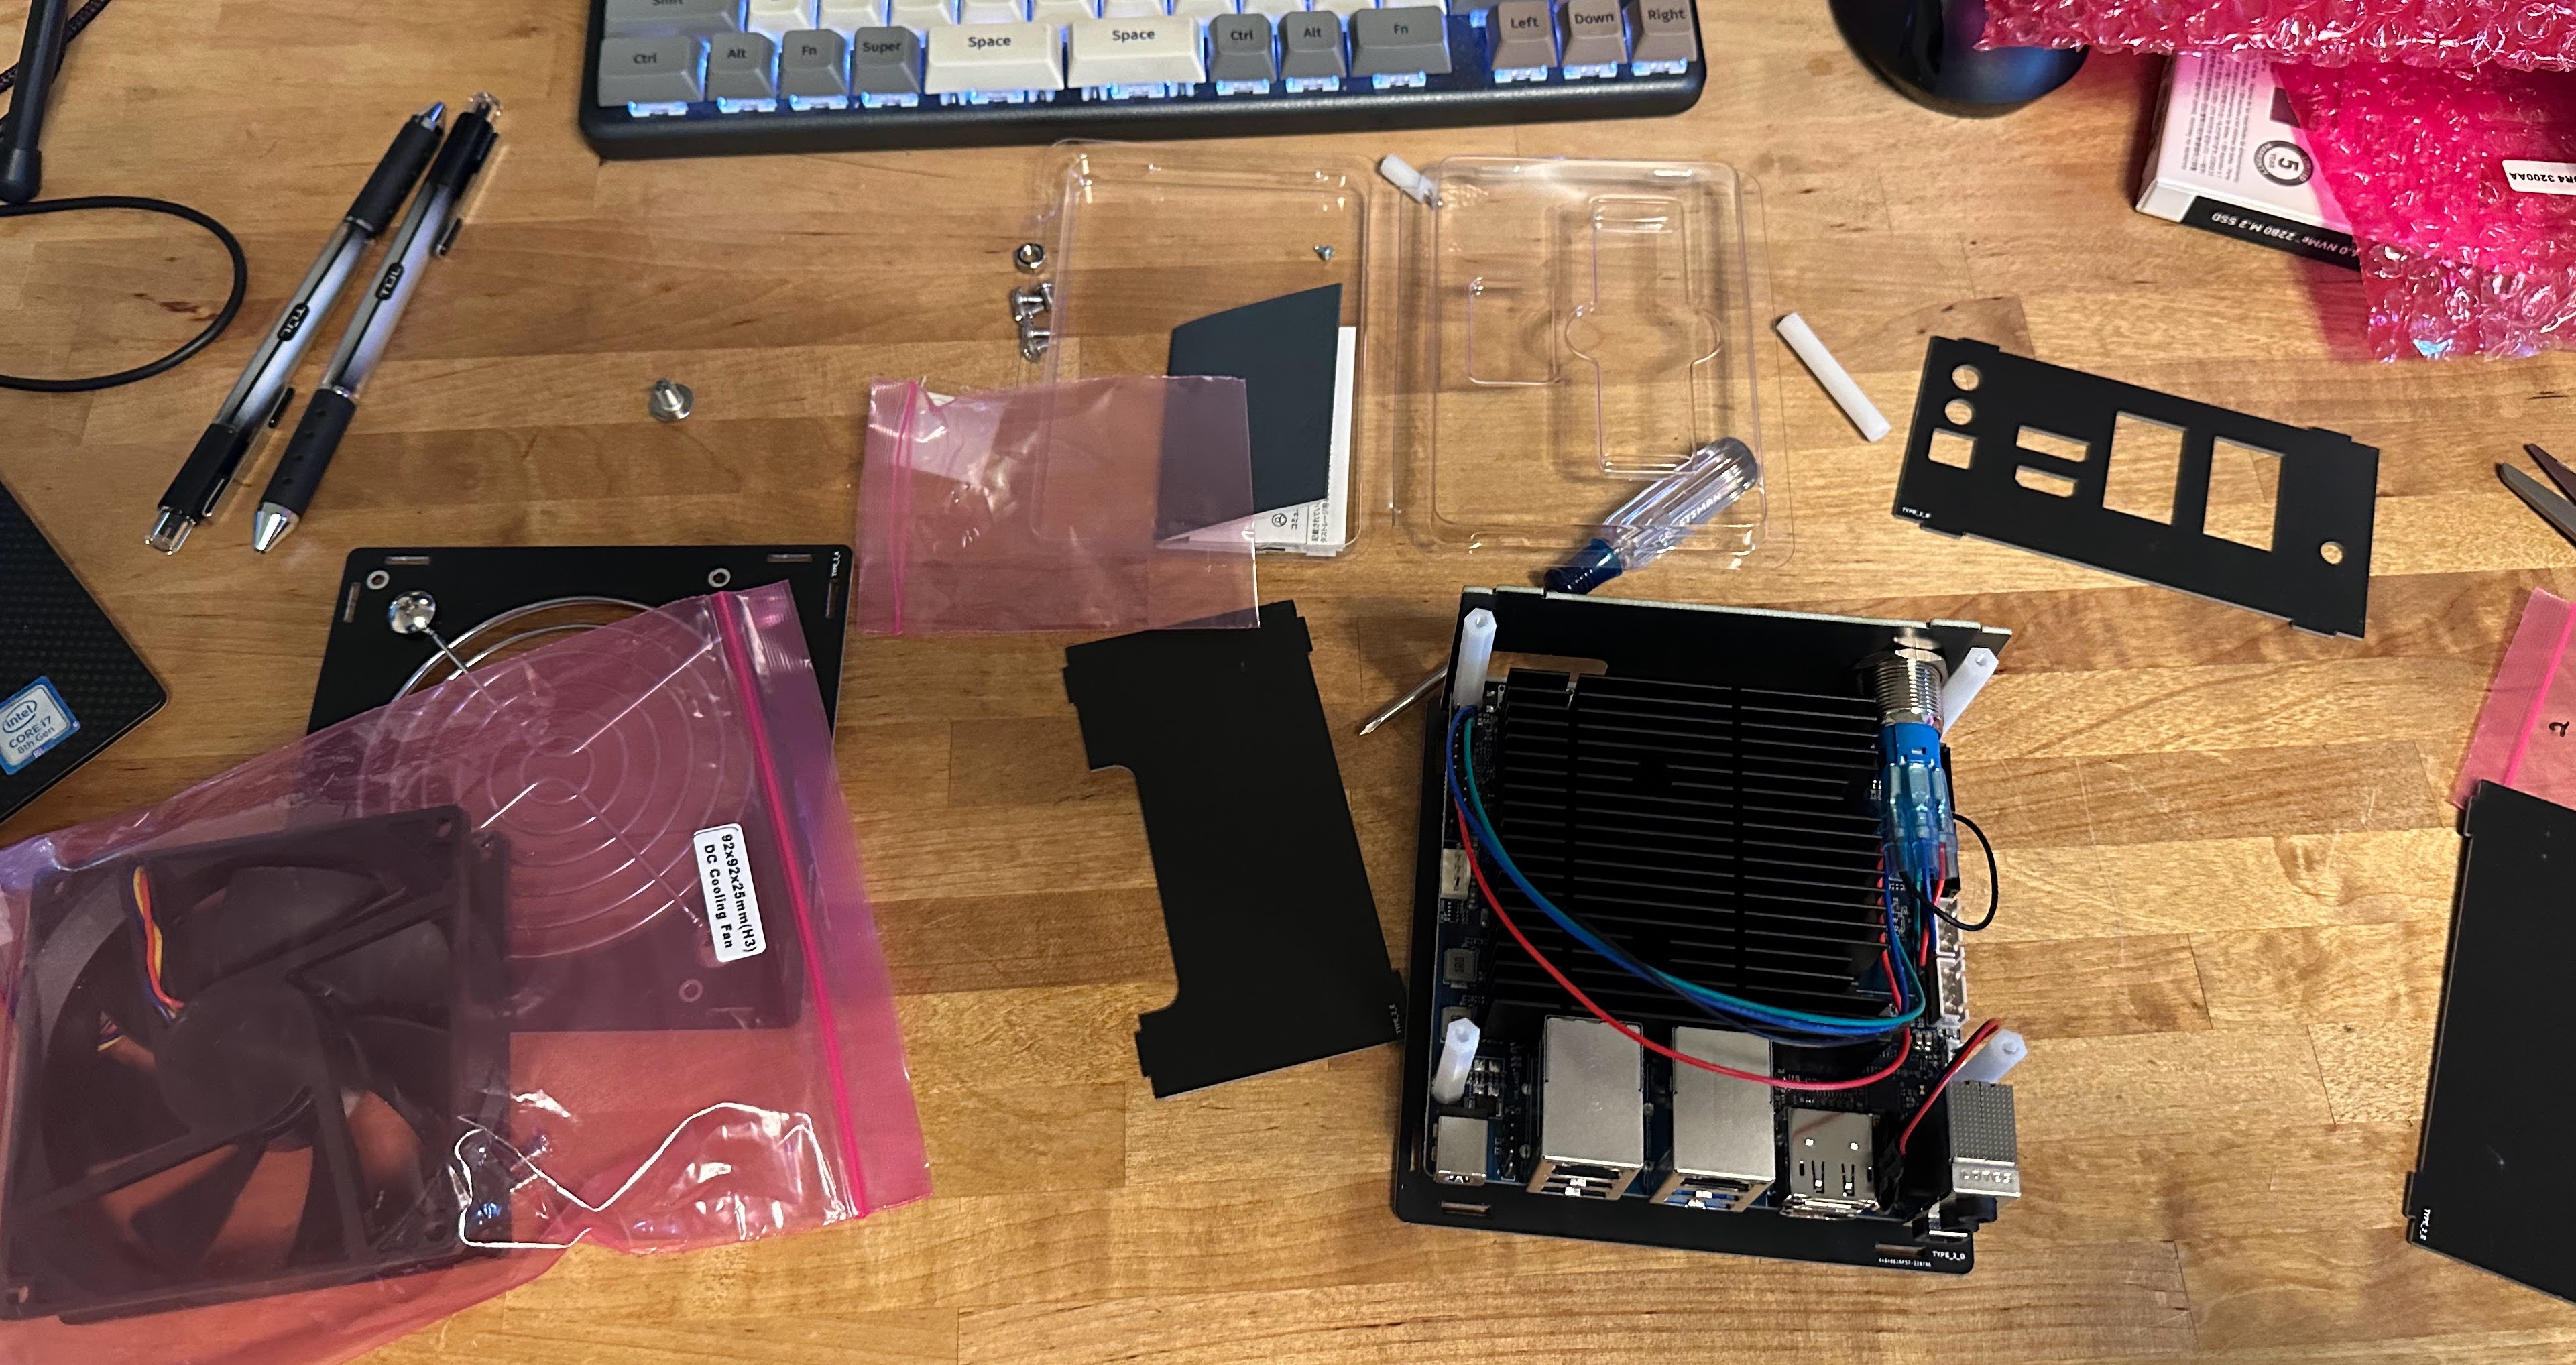
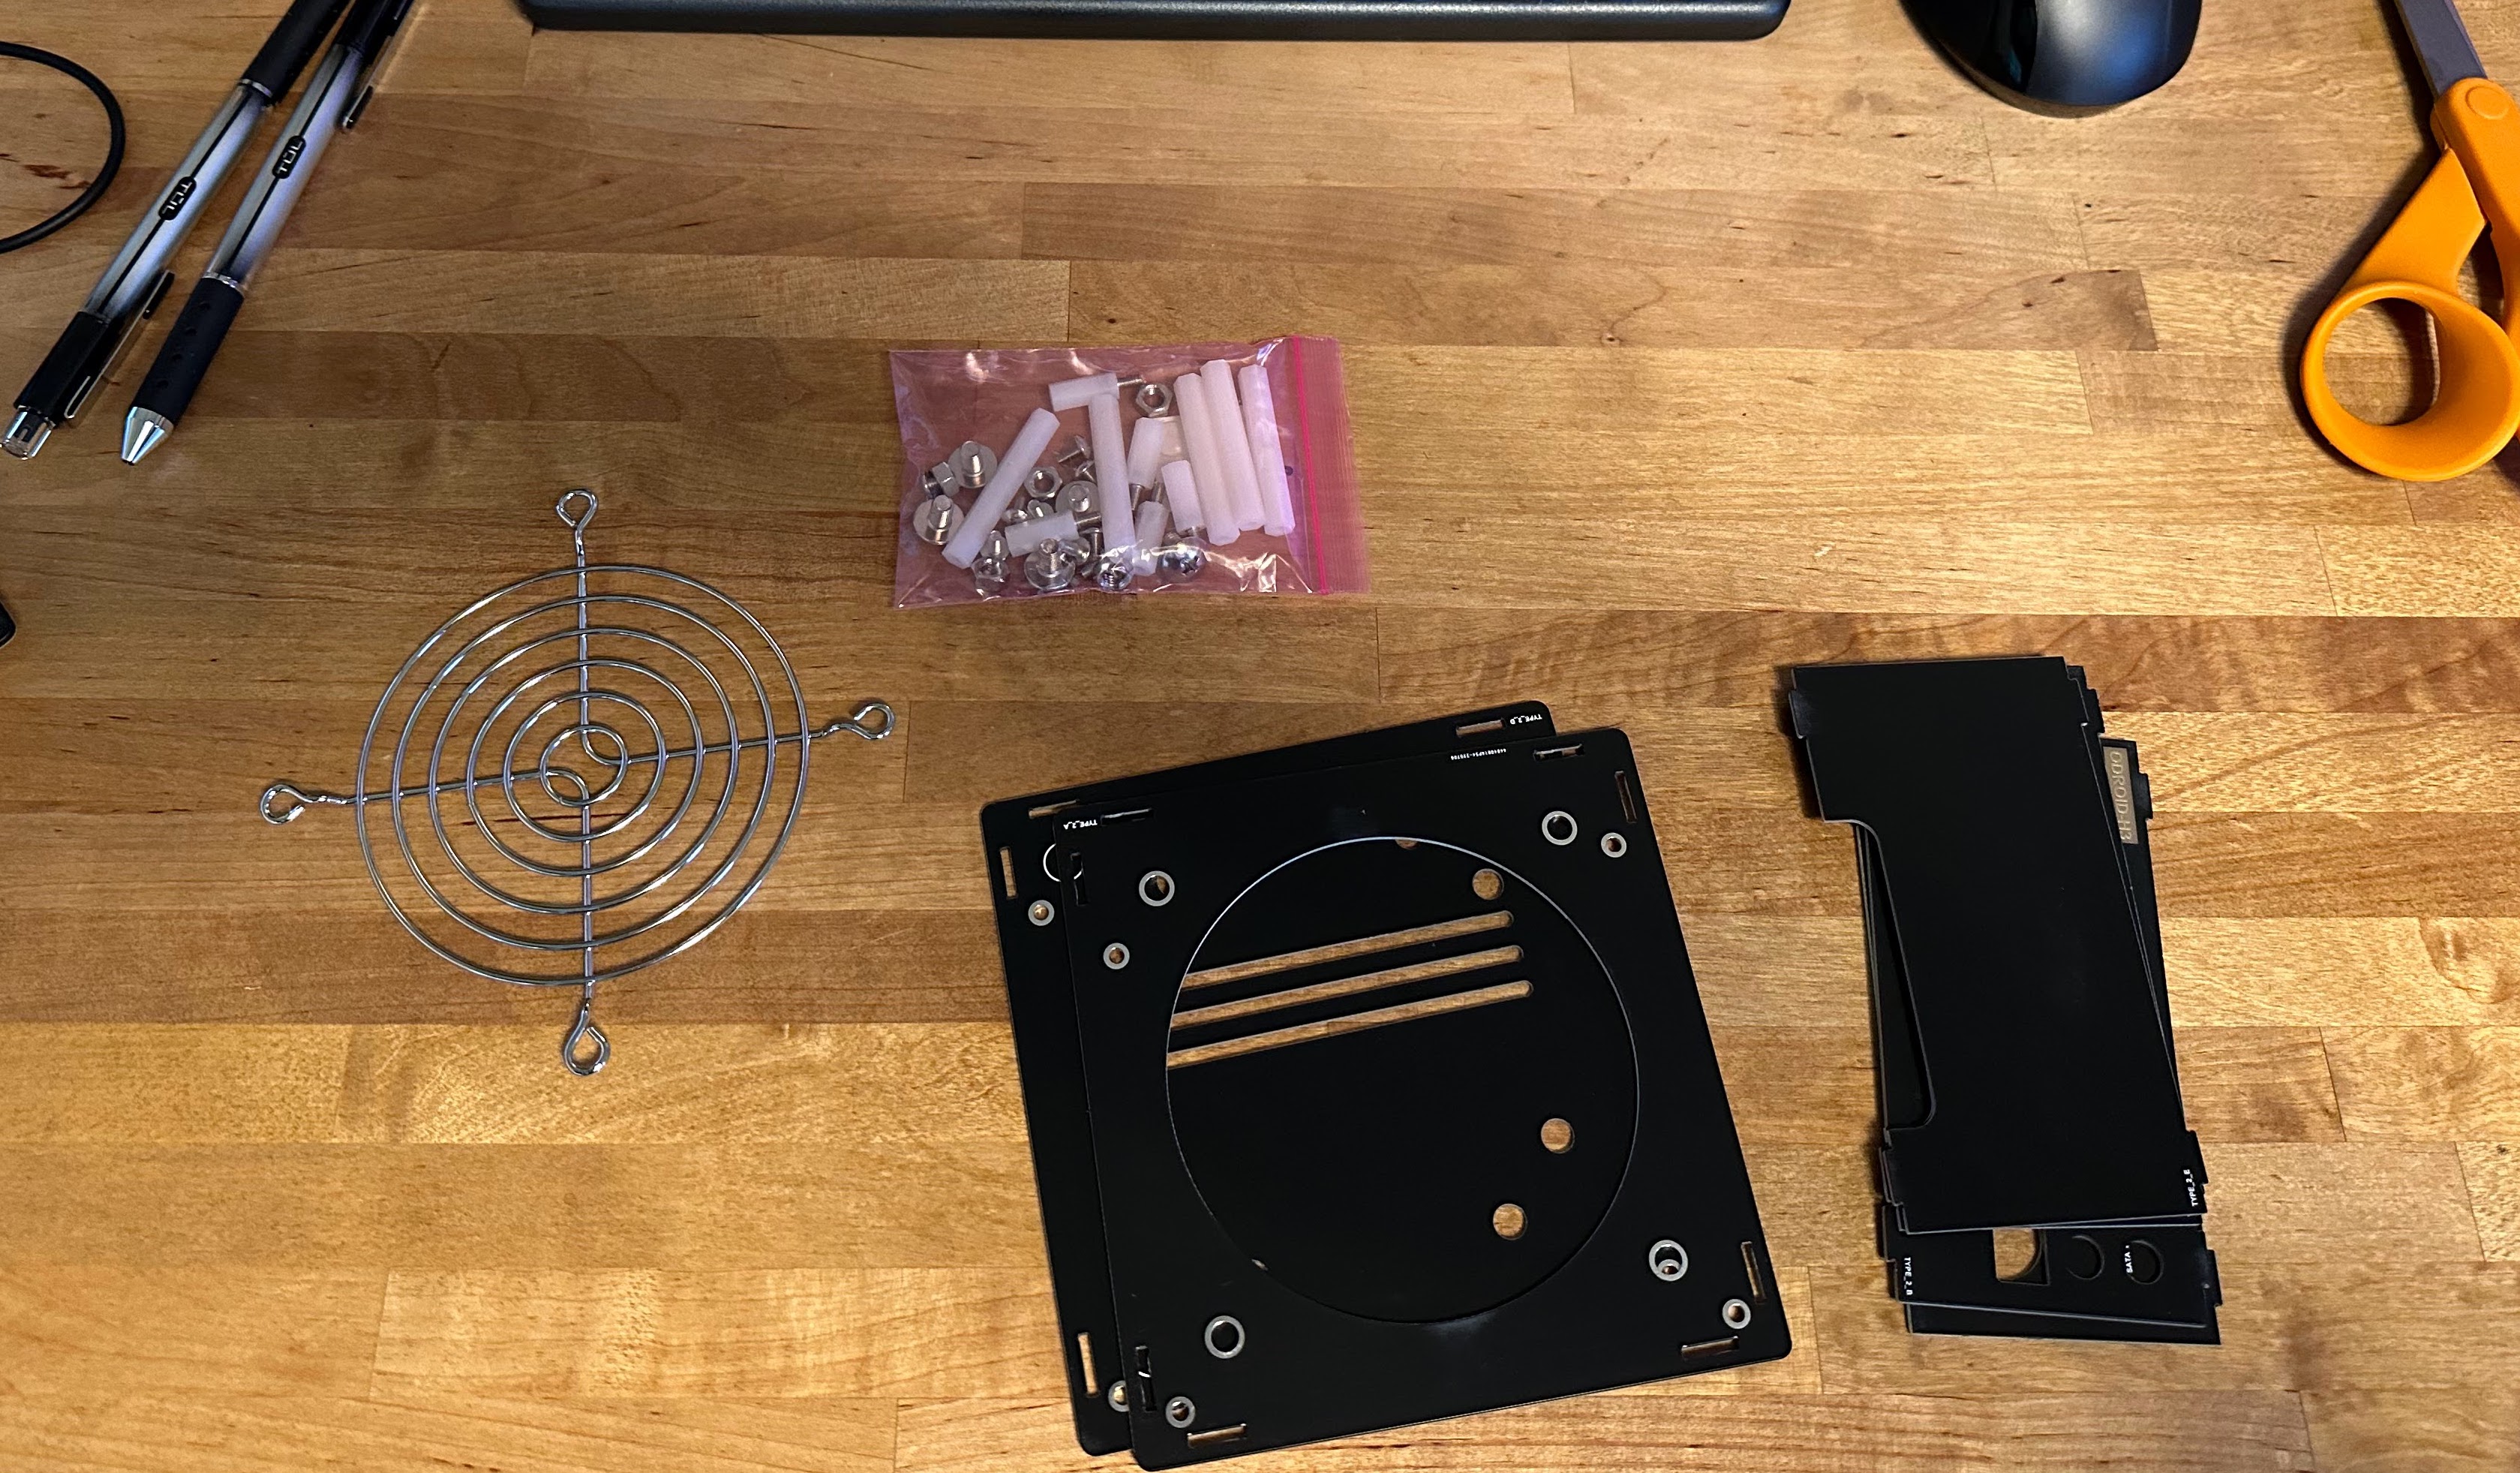
The case comes with a grill and hardware to attach it directly to the hole in the case above the heat sink. I’m placing my H3 in a boiler room where it can get pretty warm, so I bought the cooling fan. I couldn’t find any instructions that provided details for attaching it to the case, but it came with some self-tapping flat head screws, so I used them to attach the case to the fan and the grill to the fan.
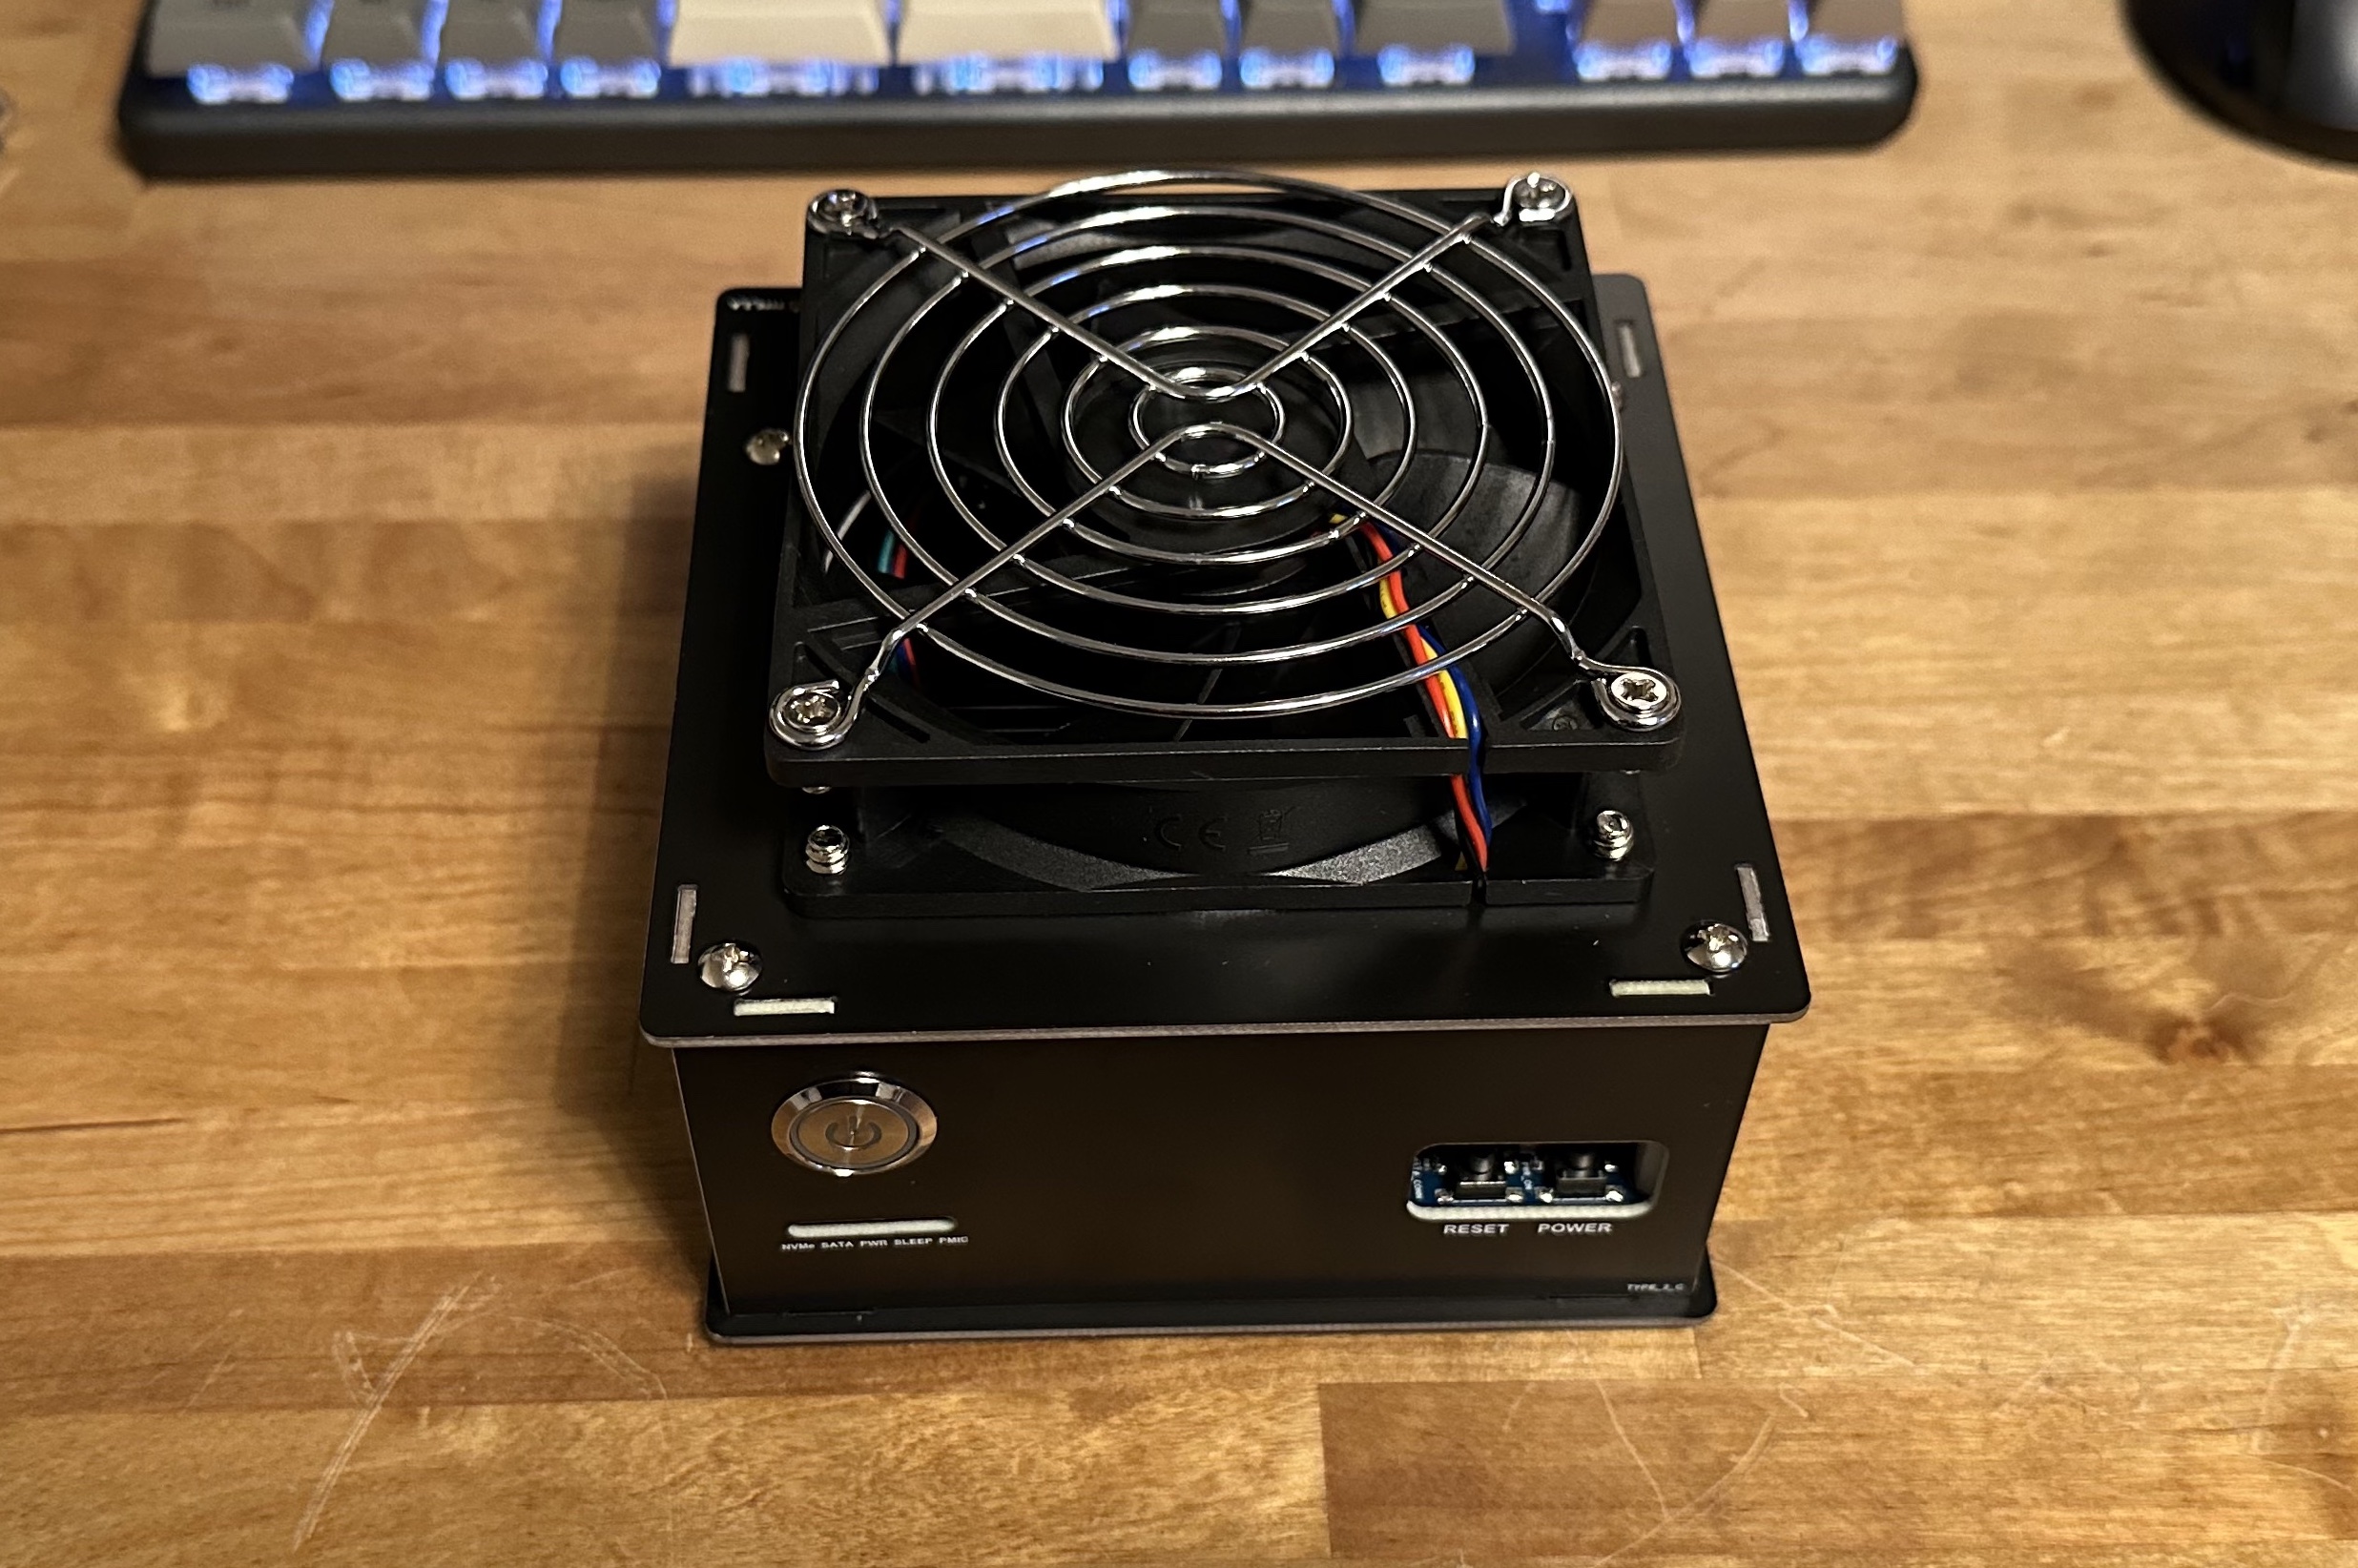
The wire coming out of the fan gets pinched between the fan and the case, but that doesn’t seem to cause any problems. However, the first time I attached the fan leads to the main board, they caught on a fan blade and prevented the fan from spinning. Carefully routing the wires away from the fan opening resolved that problem.
Booting and BIOS
For my first boot, I attached the H3 to an older Dell monitor via HDMI. The lights on the system board showed activity, but nothing appeared on the screen. Once the system lights stopped flashing, I powered off the system by unplugging it (I wasn’t positive the power button would work). Hooking up a monitor using the DisplayPort connection resolved my display issue.
Checking the BIOS version, I saw that I was a few revisions behind so I ran through the update process to see if that might resolve the HDMI issue, but it didn’t. I was eventually able to get HDMI output working with a newer TCL TV, so I’m guessing it was an issue with my old monitor.
While I was in the BIOS, I changed the power setting, so the system would automatically boot up when power was restored, as you would expect a server to do in the event of a power failure.
Conclusion
Putting this system together was a real joy. The few minor hiccups I encountered were easy to resolve and probably added to the sense of accomplishment when the system was finally up and running. I’m currently running the H3 as a “headless” server, but I briefly ran it with NixOS and the latest Gnome desktop, it was so snappy and crisp looking, I was tempted to make it my primary desktop!